

I will be using a fixture to hold the PCB board while I mill it. This will allow me to add some PCB hold down screws and some indexing holes. The indexing holes are used for flipping the board for two sided PCB milling. They will also allow me to remove and replace the board if needed.
Note that this fixture was designed to use 100mm x 70mm boards.
I started with a piece of stock 5" wide by 4" tall, and 1/2" thick. The fixture can be made from any material, but if you plan to add a vacuum hold down later, it should be made from a non porous material. In my case I am using a piece of Corian that I picked up a my local thrift center.
The 1/8" Bit I used can be found here:
2 Flute, 1/8" Up spiral carbide Bit
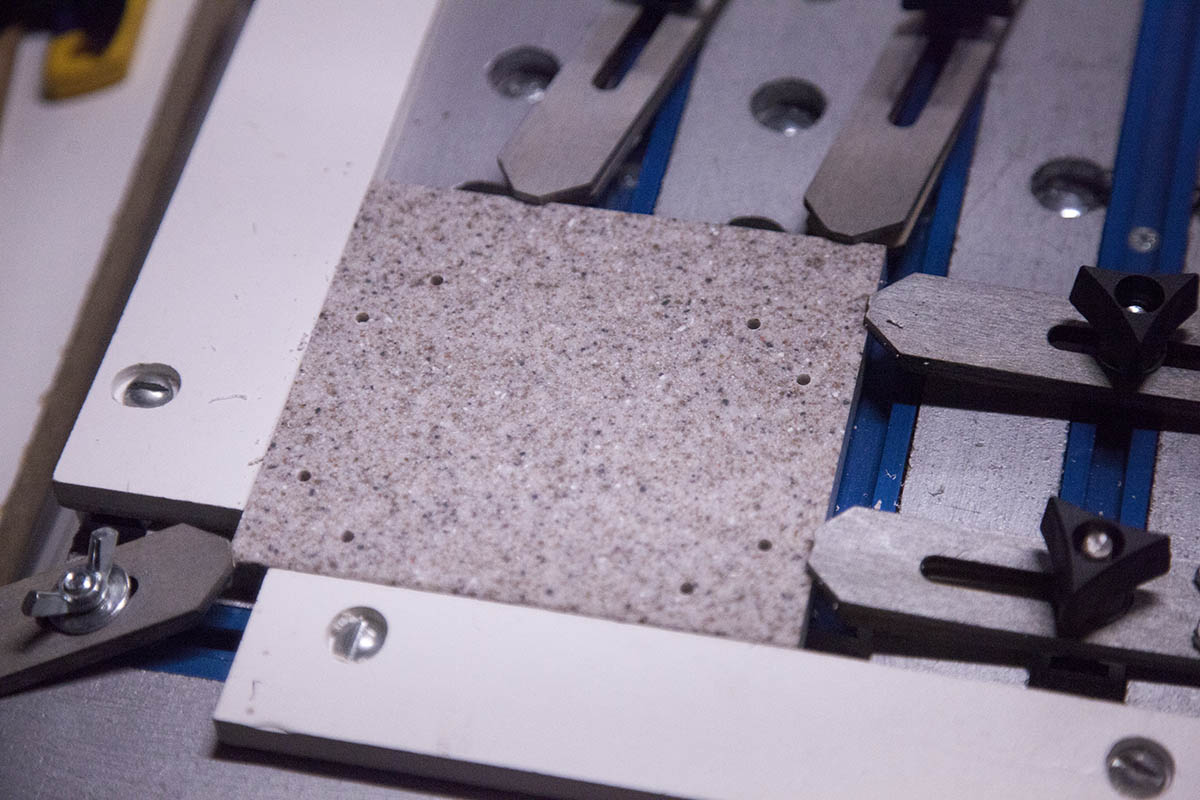
Mount the Fixture

Here, I have clamped the 5"x4" stock in place. Note that the fixture can be a little larger and it wont affect the process.
I also installed a 1/8" two flute, up-spiral carbide bit into my spindle.
The 1/8" Bit I used can be found here:
Mill the Fixture

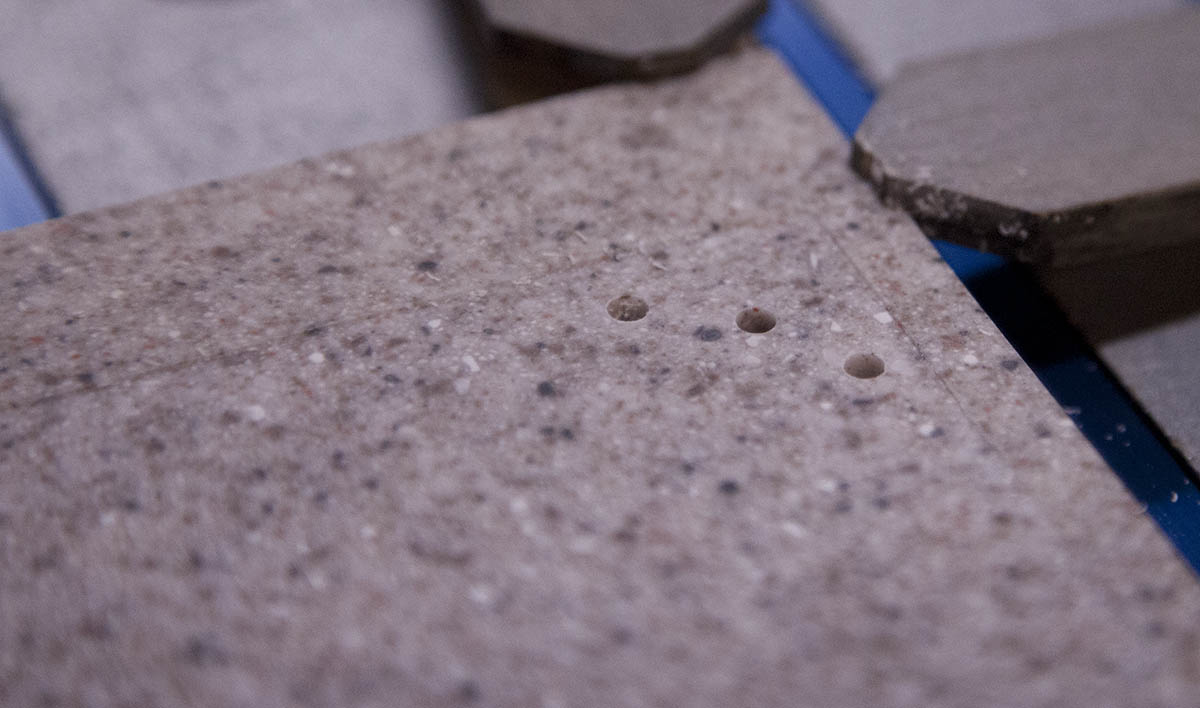
I start by milling the mounting holes using this Gcode file "Hold Down Holes". I will be installing some #6 machine screws to these holes in order to hold the PCB in place.
I then mill the alignment holes using this file: "Alignment Holes". I will place small 1/8" pins into the holes to help me align my board. This is needed when milling dual sided boards.
Finally, I mill the surface flat using this file: "Leveling Skim 01". This skim is used to help insure the board can lay flat.
Here is a video of the KRMx02 milling the fixture.
Add the Mounting Screws

I added 6 #6 x 1/4" machine screws to the bottom six holes shown here. No need to tap the holes, the size of the hole will let the machine screws self tap.
I did not install screws into the top two holes. This was done so that I can slide a 100mm x 70mm board into place.
Other Materials
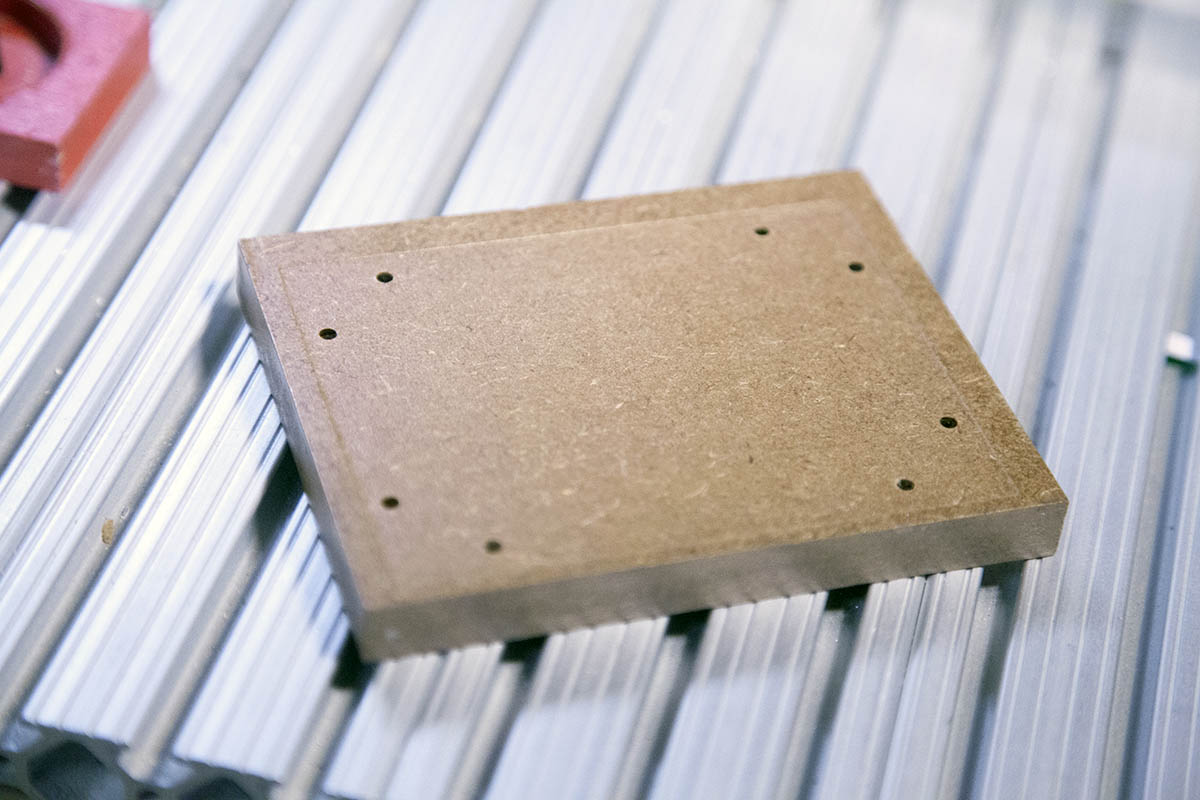
If you are not going to use a vacuum, you can use just about any material for your fixture. MDF works very well. Its just too porous to use with a Vacuum.
Next we will look at attaching the printed curcuit board to the fixture.